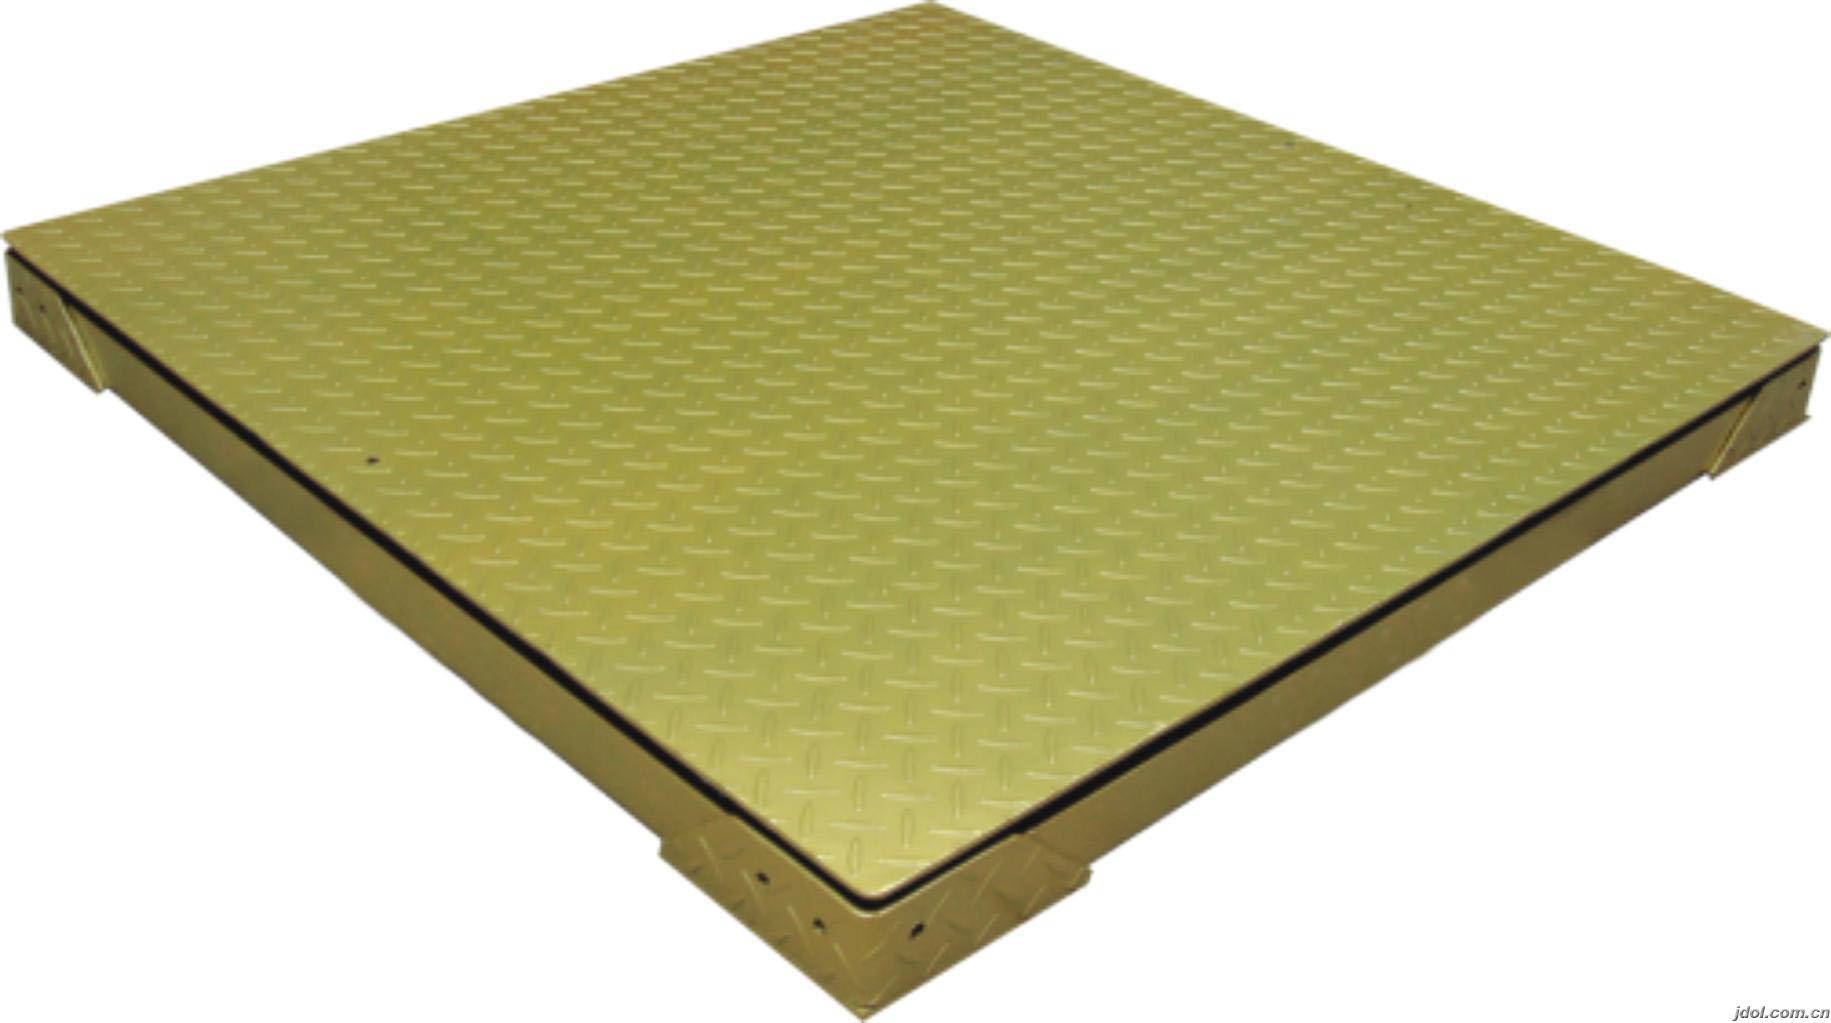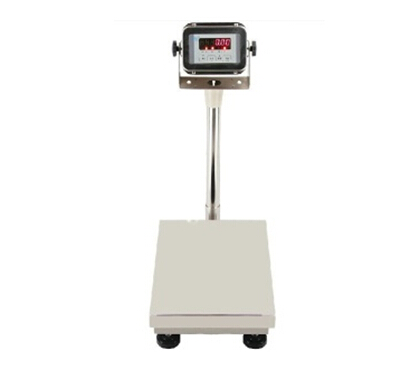
There is a lot to consider when connecting a floor scale to a printer. In addition to the busy work, the print job is prone to problems. It's not that we think about it, but sometimes because of our rush, the problem really arises.
When we encounter the weighing scales are normal and the corresponding printer cannot print the pounds order, we need to analyze the reasons to find the correct solution to the symptoms. Many of these reasons are caused by operation and setup errors. How to solve the problem?
First, first select the correct printer selection parameter (specified in the instrument manual) that is currently connected to the instrument in the print settings in the instrument. In the general instrument print parameters, there will be printer model classifications supported. Take the xk3190-A9 as an example, the meter is equipped with a mini-printer and so on.
Second, the time and date of the instrument must be set correctly. If the time and date of the instrument itself are not set properly, it will not be able to print. After the correct settings are made, the previous print storage records must be cleared. The same applies to xk3190-A9. The method of clearing records is, in the case that the calibration switch is turned off,
Third, the connection between the instrument and the printer should be normal. For example, when the weighing instrument is connected to the Panasonic 1121, the online connection on the 1121 panel when the connection is normal indicates that the connection is normal. If it is not lit, it needs to be clicked.
Fourth, if weighing software is installed and the instrument is connected to the computer, the printer is connected to the computer, and the relevant settings are performed in the computer.

The above points can eliminate the printing error of the electronic weighbridge bill that is usually more than 90%. If the following conditions are excluded, it still cannot be printed. There may be a problem with the printer (line) or the meter print connection port.
Reading Braille:
1. Familiarize yourself with the Braille alphabet, which consists of six dots arranged in two columns of three dots each. Each dot or combination of dots represents a different letter, number, punctuation mark, or special symbol.
2. Place your fingertips lightly on the Braille text, typically on a page or surface made specifically for Braille.
3. Feel the dots with your fingertips and identify the patterns to determine the corresponding letters, numbers, or symbols.
4. Move your fingertips systematically across the Braille text, reading from left to right and top to bottom, just like reading regular text.
Writing Braille:
1. Learn the Braille alphabet and practice writing each letter, number, punctuation mark, and special symbol.
2. Use a Braille slate and stylus, which is a tool specifically designed for writing Braille. The slate has rectangular openings to hold the paper, and the stylus is used to press the dots onto the paper through the openings.
3. Place a piece of Braille paper or cardstock into the slate, ensuring it is aligned properly.
4. Hold the stylus like a pen or pencil and press the appropriate dots onto the paper, one at a time, following the Braille alphabet.
5. Lift the stylus after each dot is pressed to avoid smudging or blending the dots together.
6. Continue writing the desired text, moving from left to right and top to bottom on the paper.
7. Review your writing by feeling the dots with your fingertips to ensure accuracy.
It is important to note that learning Braille may require time and practice, as it is a tactile skill that requires the ability to distinguish between the different dot patterns. However, with dedication and persistence, individuals can become proficient in reading and writing Braille.
Braille Instructions,Braille Alphabet,Braille Printing,Braille Packaging Box
Shanghai Caide Printing Co.,Ltd. , https://www.caidelabels.com