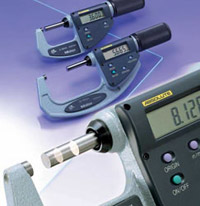
 Since its introduction into China in the 1990s, precision inspection equipment has become a rapidly growing industry in emerging industries. Since the industry of precision inspection equipment is applied to the detection of industrial products, it is widely used in domestic industrial production and is an indispensable industry for industrial development.
 Since the introduction of precision testing equipment into the domestic market, today we can divide the development process of precision inspection instruments in the country into three phases. They are a simple projector stage, high-precision two-dimensional image measuring instrument and high-end three-axis measurement. Machine stage. Below we will make a simple interpretation of these three stages.
First, a simple projector in order to meet the needs of the development of the market, provide the basis for the detection of the development of modern industry, in the 1990s, precision testing equipment formally entered the domestic market in China, becoming a new detection-based industries. At the beginning of entering the domestic market, the development of precision testing instruments was not as smooth as we imagined, because it is after all an emerging industry. Many of us have not been in touch and we do not know how it will develop in the future.
Second, high-precision two-dimensional image measuring instrument With the continuous development of society, the domestic industrial level is also constantly improving, therefore, a simple projector can no longer meet the needs of the market and industry, in this case, the secondary element image The measuring instrument has become an inevitable product of the development of the industry, and it provides a solid foundation for the complex detection of products.
Third, the high-end coordinate measuring machine entered the 21st century, more products need to provide three-dimensional inspection, so as to better serve the development of modern society, so the domestic precision testing companies on the basis of the secondary element imaging instrument R & D and production of coordinate measuring machines, in order to achieve higher-end three-dimensional inspection tasks.
We can see from the trilogy of the development of precision testing equipment that, like the development process of each product or industry, it starts from the simple and slowly develops to high-end products, and finally realizes higher-end testing services. Therefore, in the development after the precision testing equipment, in order to meet the needs of the market and customers, more sophisticated testing instruments will be introduced.
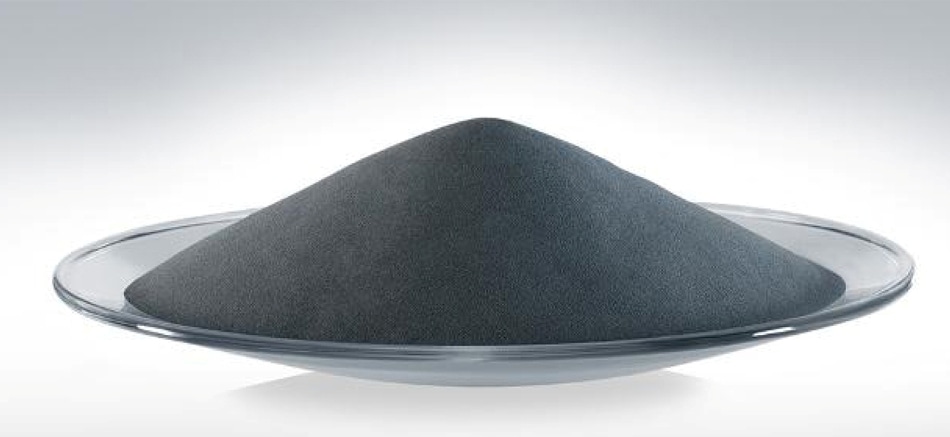
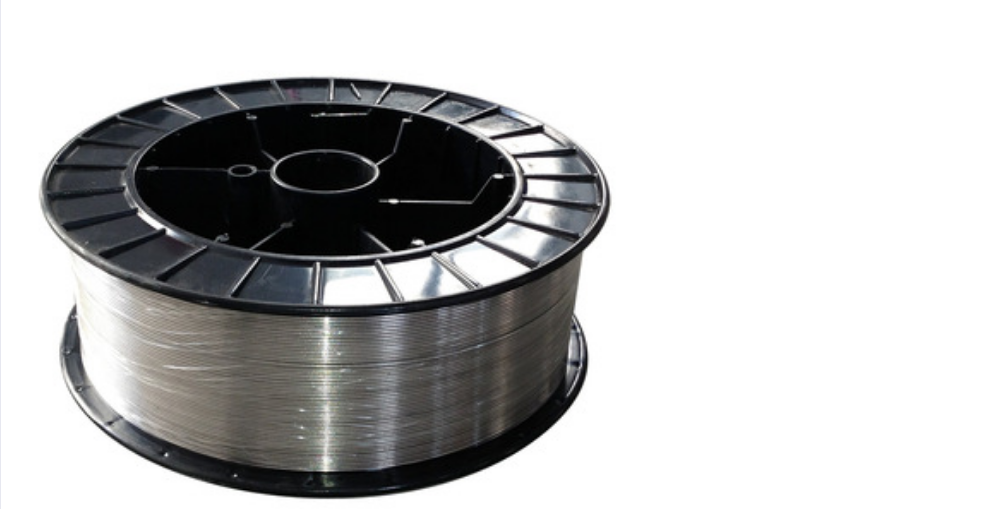
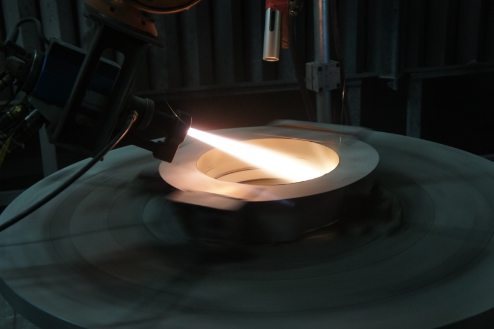
Metals, alloys and composite powders commonly used in thermal spray hardfacing technology and coating service. These unique powders are instantly heated by thermal spraying (welding) methods such as high temperature flame or explosive flame, and are sprayed and deposited on the cold or hot workpiece surface with high-speed heat flow in a molten or semi-melted state to form a surface Reinforcing layer, in order to improve the wear resistance, corrosion resistance, heat resistance, oxidation resistance or repair of external dimensions of the workpiece surface. XTC produces WC, CrC, Oxide Ceramic, Boride Powder, Metal Alloy Powder, Pure Metal and Spray Wire, etc. product. For HVOF/HVAF/plasma/Flame spray coating and applications. Meet the wear and corrosion resistance requirements of different surfaces.


WC, CrC oxide ceramic powder and boride products are excellent in wear resistance and high temperature corrosion resistance. Taking WC products as an example, the hardness can reach HV1300-1500, and the temperature of CrC products can reach 800 degrees Celsius.
Metal alloy powder, Pure Metal and Spray Wire products have more applications in glass mold, steel and machinery industries. And XTC products are now become more and more popular in Metal spray coating and thermal spray coating industry.

Coating Service,Metal Spray Coating,Flame Spray Coating,Thermal Spray Coating
Luoyang Golden Egret Geotools Co., Ltd , https://www.xtccarbide.com